Cart empty
Articles
Articles
Inspiration
Tutorials
Colour Mixing
Texture
Our Paints
Outlines Acrylic Paint Set
Single White Paint
Product Information
About
Contact
Shop
Basket
Checkout
My account
Ordering Terms
How to Order
FAQ
Back to Base
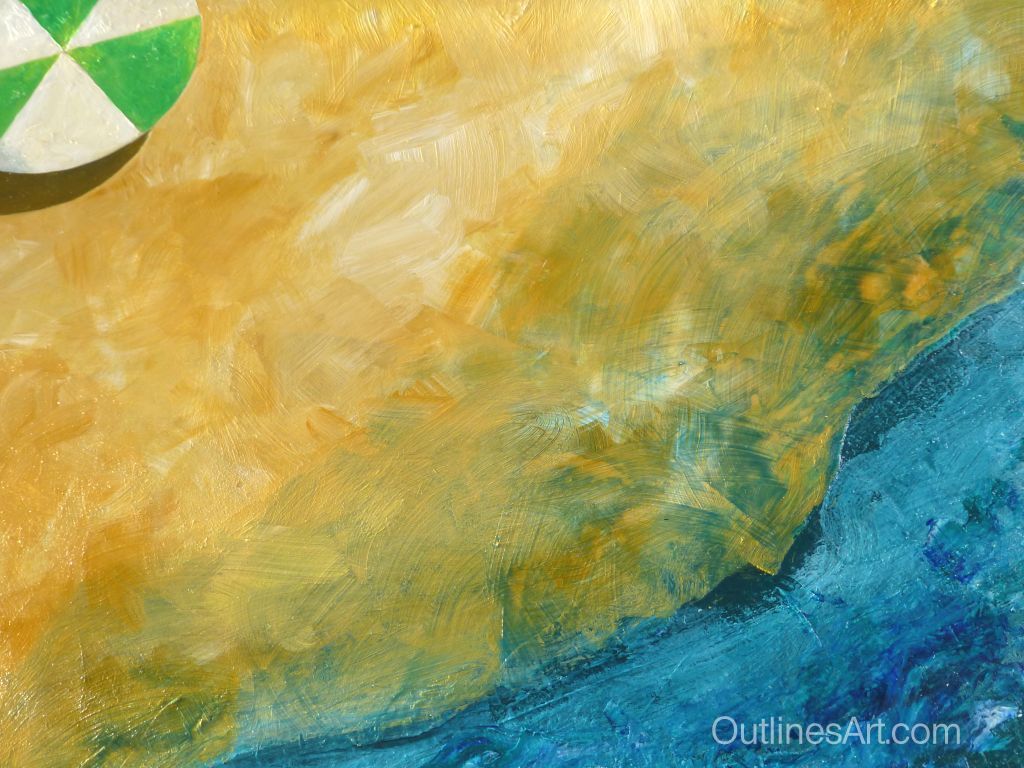
Glaze for Wet Sand
0 Comments
Home
>>
Glaze for Wet Sand
A blue-green Glaze for a Wet Sand effect on the revived table