Easy Ways to Make Colour Wheels and Reference Charts
In the previous post, I mentioned other ways of doing this if there is something stopping you – or blocking your way.
Here are some objections/blocks listed with possible solutions
1. I have to clean my brushes and pallette knife really thoroughly between each colour. It takes forever!
Have several brushes and jars of water handy so that you can clean them all when your done.
2. It’s difficult to guage how much paint I need and I end up throwing too much away!
This one’s a biggie – you don’t want to use all your paint up before you even paint a picture!
I remember that feeling, and it certainly stopped me in the early days.
I hate wasting paint too, even now when I have plenty.
I suggest you can make charts WHILE you are painting! A little preparation will make that possible.
Draw your chart on a piece of card that you can keep handy – you could set aside a canvas for it if you prefer.
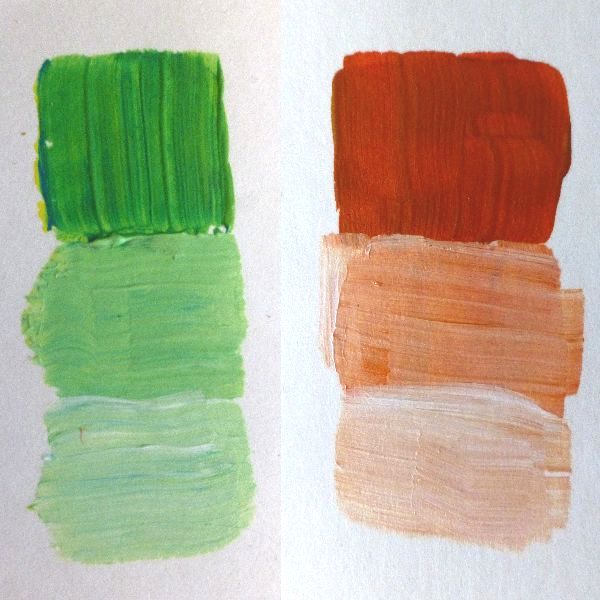
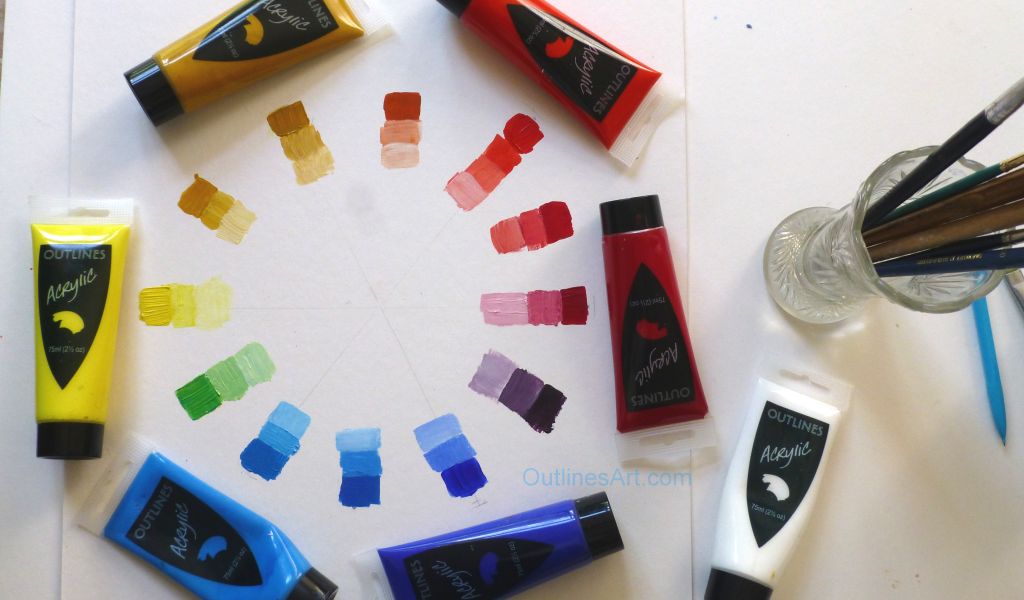
When you are painting a picture, you are using several colours, so if you paint One pure colour and its mixes with white you can use any left-overs in your painting. When you need a mix of two of the colours in the chart, use it on your wheel first and fill in one of the mixes. As time goes on you will gradually make the chart without wasting wet paint.
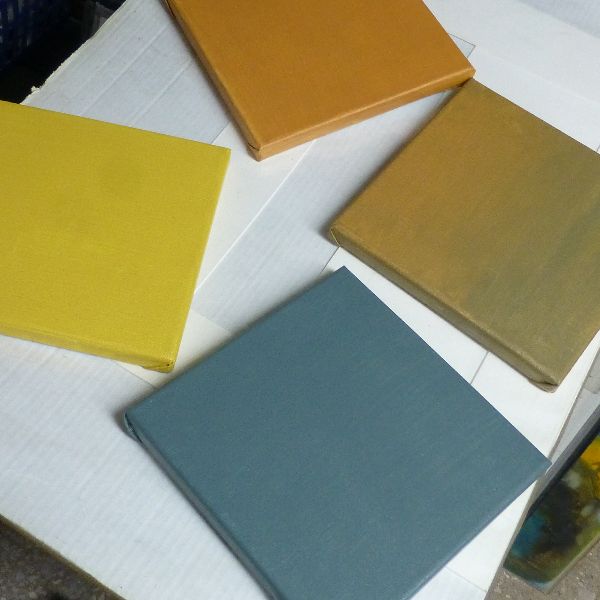
The other way to use them up is, sort of the other way round. Instead of preparing the chart, you could prepare some surfaces for painting. You could then use up left-overs from the chart by painting areas of colour that will provide a background for a painting.
I enjoy picking up pieces of card or small canvases that are already coloured and starting a painting on them. Sometimes I do it with big canvases too, I paint colours fairly thinly with a big brush and that prevents glaring whites showing through gaps in fast strokes when I come to paint it.
3. It all so precise! I can’t bear fiddling around with all those sharp points.
It doesn’t have to be a text-book wheel – a wonky wheel is fine and is still a good reference for you.
It doesn’t even have to be a circle. You can do it in stripes across a page.
The important thing is to see what colours can do and how they behave with other colours.
4. I don’t have mountboard off-cuts like yours – I don’t know what to paint it on!
You can make them on anything, card, paper, canvas, cut up boxes, whatever comes to hand.
You can paint them with brushes or pallette knives.
5. How else can I make a chart without spending all day at it?
You could make the sections one at a time on paper or card, whenever you feel like it.
Store them until you have a collection then cut them to shape and stick them on a large board.

If you want a circle, you can make a template to draw around as a rough guide.
You won’t have to worry about edges because you will be cutting them down.
6. What else? – Don’t stop there!
I’m racking my brain thinking of ways to keep a record of mixes!
I know – Use a plain white pad as your pallette!!
When you have mixed some colours and covered the paper, start again on a new sheet.
Keep all the sheets you have used and revisit them in a year.
You’ll be amazed at all the colours you have mixed and you can keep them as they are or cut them up to make a collage chart.
Will that do for now?
Oh, and if you have photos of your wheels and charts let me know using the Contributer Submissions Form with a brief description of your experience. Please put the words ‘Colour Wheels’ in the subject line. I will reply as soon as I can and ask for your images.
You might find it useful to read the article on making a simple colour wheel to understand Why it is so good to make them…
If you have ideas to add or have an opinion to express, please do so in the comments below.
I’d love to know what you think!


