How I Revived a Garden Table
by Christina Bonnett.
How To Paint the Table
Painting the Sunshades
Painting the Beach
Painting the Steps
Painting the Boardwalk or Promenade
The Promenade Rail
Conclusion
A Beach Scene to Decorate a Square Table
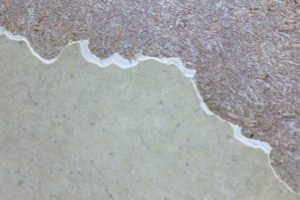
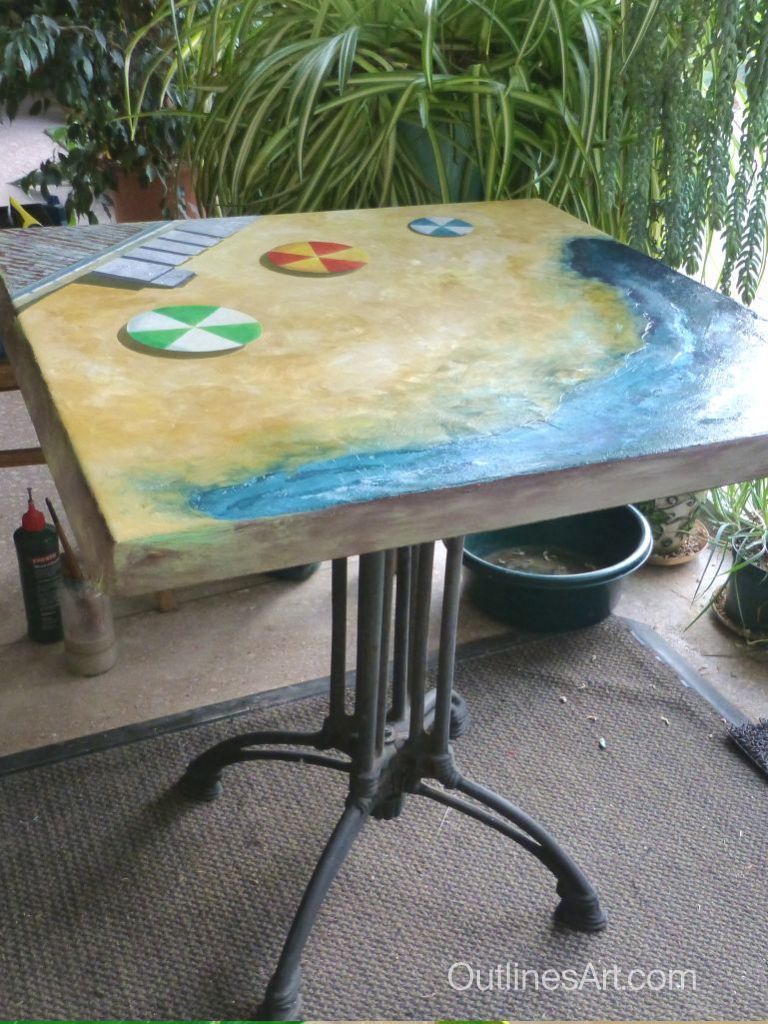
The Melamine top of this table was cracked and letting in water so I decided to use my acrylics to decorate and seal it.
The idea for the beach painting just happened as I was doing it so it wasn’t carefully planned. This is really just an experiment to see how well the paint will stand up to being the finish on an outdoor table. Time will tell how it behaves and I will report back after a spell in the yard.
The design is also merely a suggestion, and the methods can be used for other subjects. If you have a table you’d like to refurbish perhaps you will have your own ideas. Do feel free to copy this or alter and adapt to suit your own design. You can, of course, paint a table that will stay indoors in this way too.
How To Paint the Table
To make the painting I gathered useful bits and pieces as I went, but if you would like to do something similar you could collect the bits and pieces in advance. See the list below.
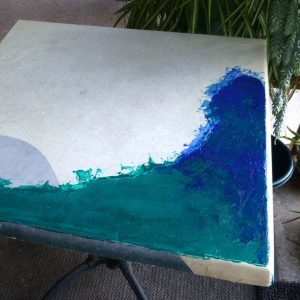 The melamine was already removed in one corner and I decided to leave the rest in place.
The bare corner was to be the sea, and needed plenty of paint to seal it. Starting with viridian green I squeezed paint directly on the surface and spread it with a palette knife about halfway round. Ultramarine was applied at the opposite end of the bare section and blended where it met the green.
I made sure there was plenty of paint over the edges of the melamine so that it would be properly sealed.
This layer was left to dry overnight as it had some thick areas that I felt should be allowed to harden properly.
I placed a strip of masking tape across the corner to isolate the promenade area and used the strip of card and a pencil to lightly draw the steps and their shadows – nothing fancy, simple lines just to keep the position.
The rolls of masking tape acted as guides for the circles intended as sunshades. I had two outside sizes and the inner hole provided a circle for the smallest sunshade.
Using the strip of card I drew the lines for the sections of colour on the shades.
That is all the drawing I did – Let’s move on to the painting!
Painting the Sunshades
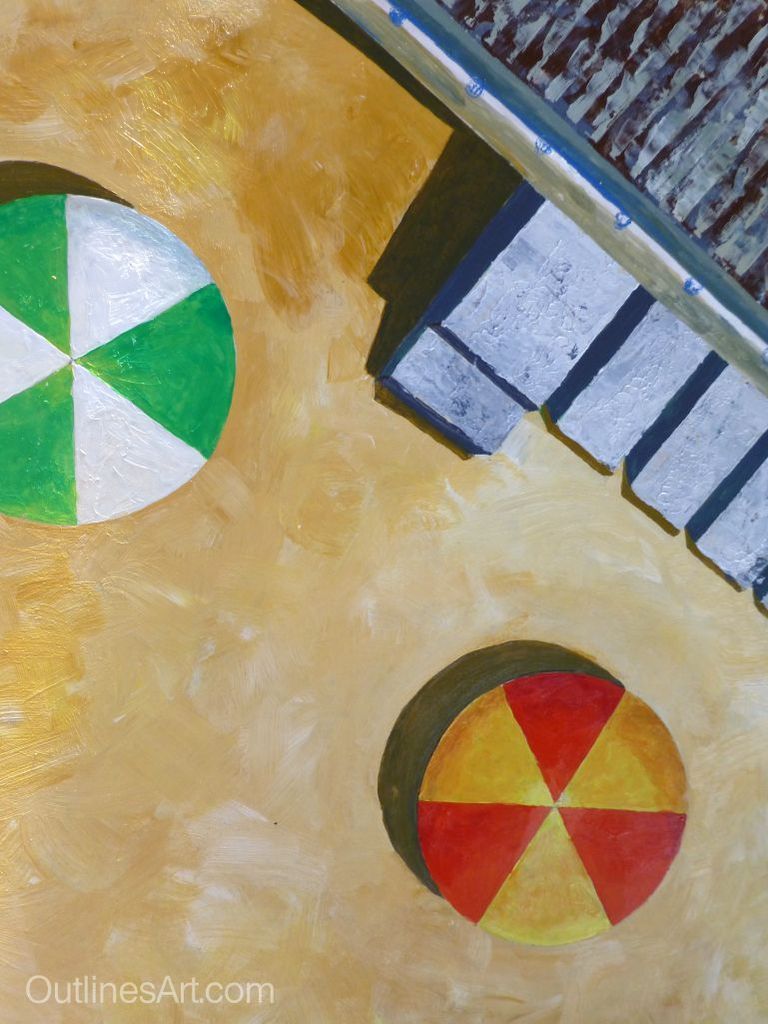
I decided to paint the sunshades first, using the small round brush. All of these were mixes as listed in ‘Things I used’. I mixed the main colours first and applied it to the sections of each, shading the centre-tops by adding a little white and the shaded areas by adding a touch more of the darker colour. Perhaps I had a touch of other darker colours on the palette. For the yellow sections I added the tiniest touch of Vermillion to the Lemon Yellow to make a warmer yellow.
I cleaned the brush thoroughly between each shade and squeezed out excess water on some tissue.
The white sections were painted next using colours on the palette for shading.
I decided the sunshades needed a shadow on the sand, but needed them to be dry before drawing them using the same rolls of tape that I used for the circle, so I moved on to the sea area.
I squeezed a little of the same green and blue and some white onto my makeshift palette. I wanted the colour to vary a little and have streaks so avoided a thorough mix. Using a flat brush I touched it into each of the three colours and brushed lightly in the sea with sweeping strokes, occasionally blending in situ. I added splots of white to indicate breaking waves in places.
Mixing a little at a time and allowing streaks works well for effects like this. I was careful to leave some strong dark colour showing through.
Tip: If you overdo the light, you can always add more dark later on, when it’s dry.
Painting the Beach
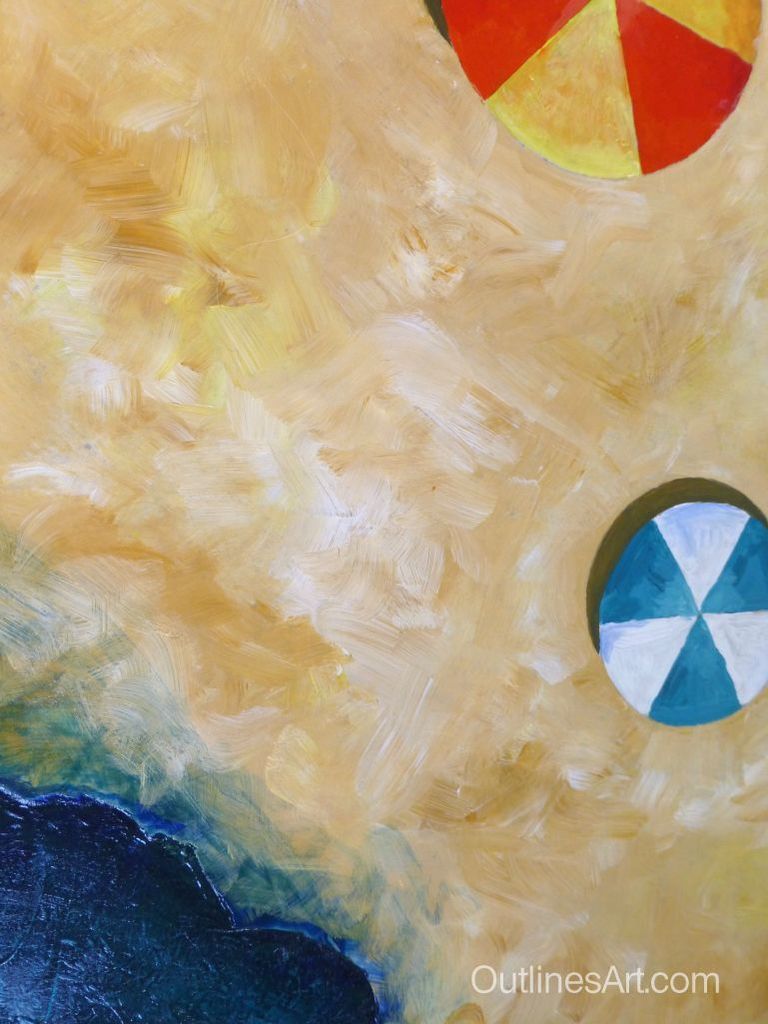
I drew the sunshade shadows before starting to paint.
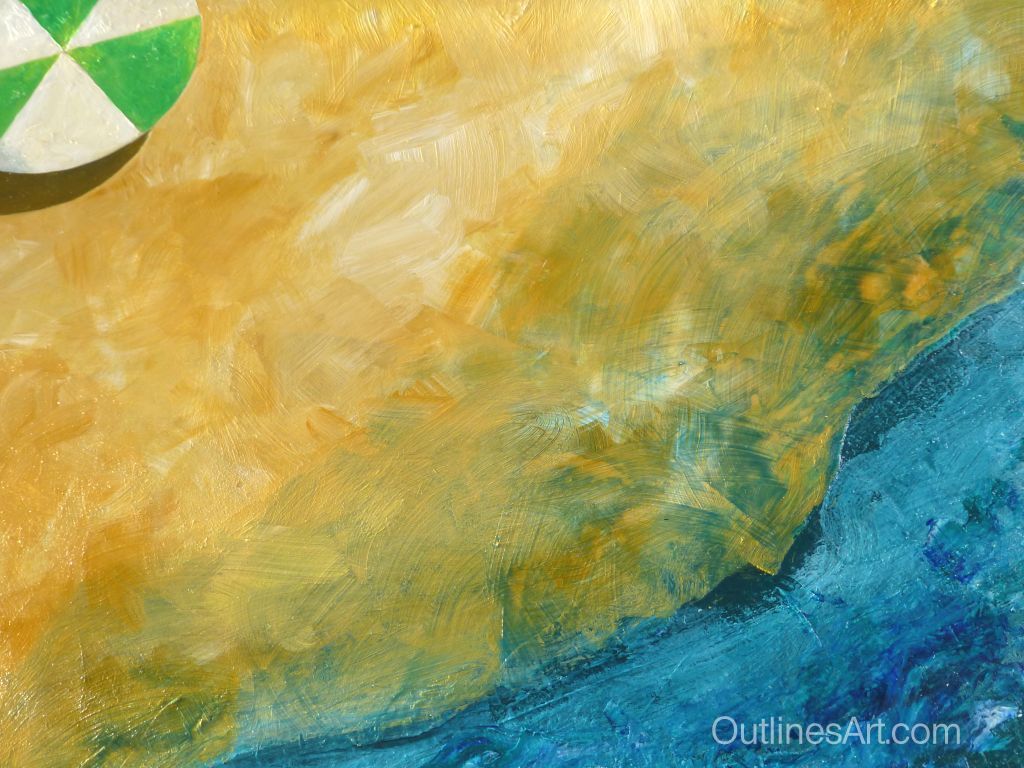
This was quite a big area so I didn’t bother with the palette. I put a little of each colour directly on the table, blending and mixing as I went.
The one inch flat bristle brush.
The brushstrokes were mostly quite short, changing the direction and overlapping to get variations in the colour. As the paint ran out I added a little more of each colour as needed.
Sometimes I added a stroke where the paint had gone on a bit thinly here and there.
In this way, I worked from the furthest part to the nearest until the whole beach was painted.
The small round brush
I used the big brush end-on to carefully paint around the shades and steps, ocasionally using the small round brush to get into an angle or clean up an edge. I tried to make sure the bolder strokes dominated and stroked over any over-smooth parts.
The dark shadows were painted with the small brush as I reached each one, mixing the colour on the palette.
The glaze for the wet sand was applied later using using a mix of ultramarine and viridian with glazing gel. The paint was only about 15% of the mix, making it very transparent. It was painted loosely over the sea and the sand at the edge, allowing the colour to be thicker in places to vary the depth of colour.
Painting the Steps
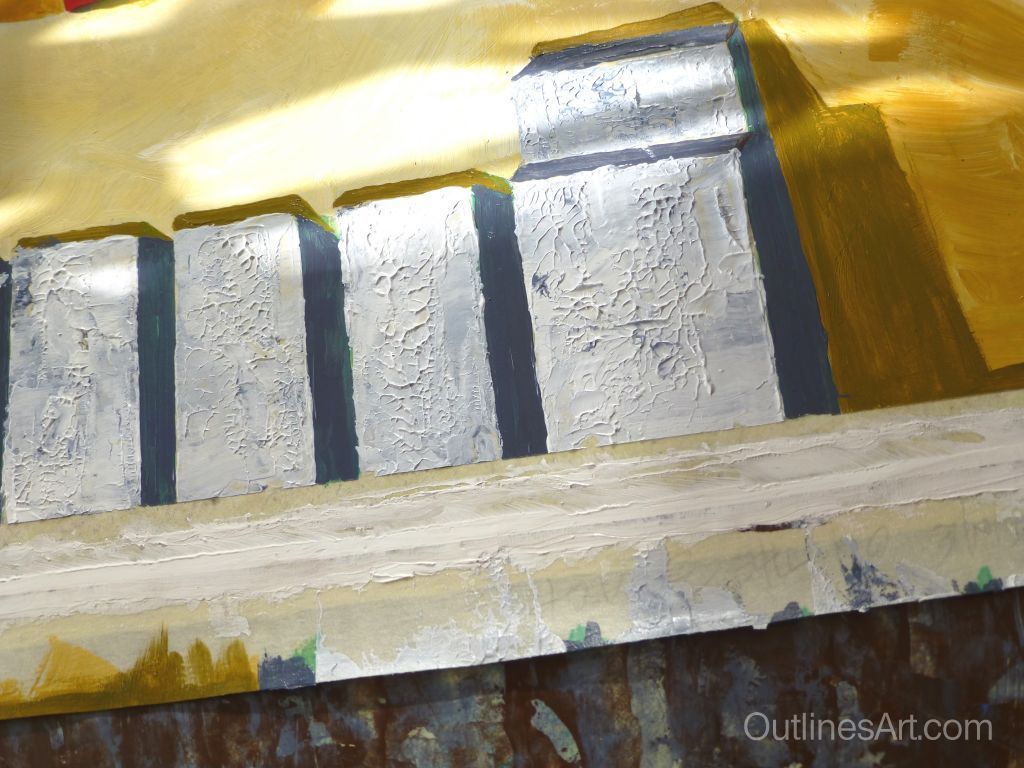
This was done using a square ended palette knife for the lighter areas and the round brush for the step shadows.
I left the masking tape in place while I painted these and the promenade, removing it at the end before it dried completely.
I painted the shadows first because I thought any ‘wobbly bits’ on the steps could overlap and look ok.
I mixed a fairly even bluish grey using ultramarine and umber with a touch of white, I think.
(More Colour Tips here)
I squeezed a good blob of white and small blobs of blue, brown and ochre onto a clean area of my palette.
Spreading the white with my knife I made a flat area of paint that I could pick up with the edge of the knife. I then just touched the other colours to get a tiny amount so that it would hardly change the white. Placing the knife lengthways on the edge of a step I pulled it across to the opposite side. I turned the knife using the side and tip to fill in the blanks. I then ‘touched’ the step to make little raised bits.
Tip: If you feel more comfortable with a brush you could fill in the area with paint and stroke or touch it afterwards with a knife while it is still wet.
Painting the Boardwalk or Promenade
This was all done with a palette-knife and the masking tape was still in place.
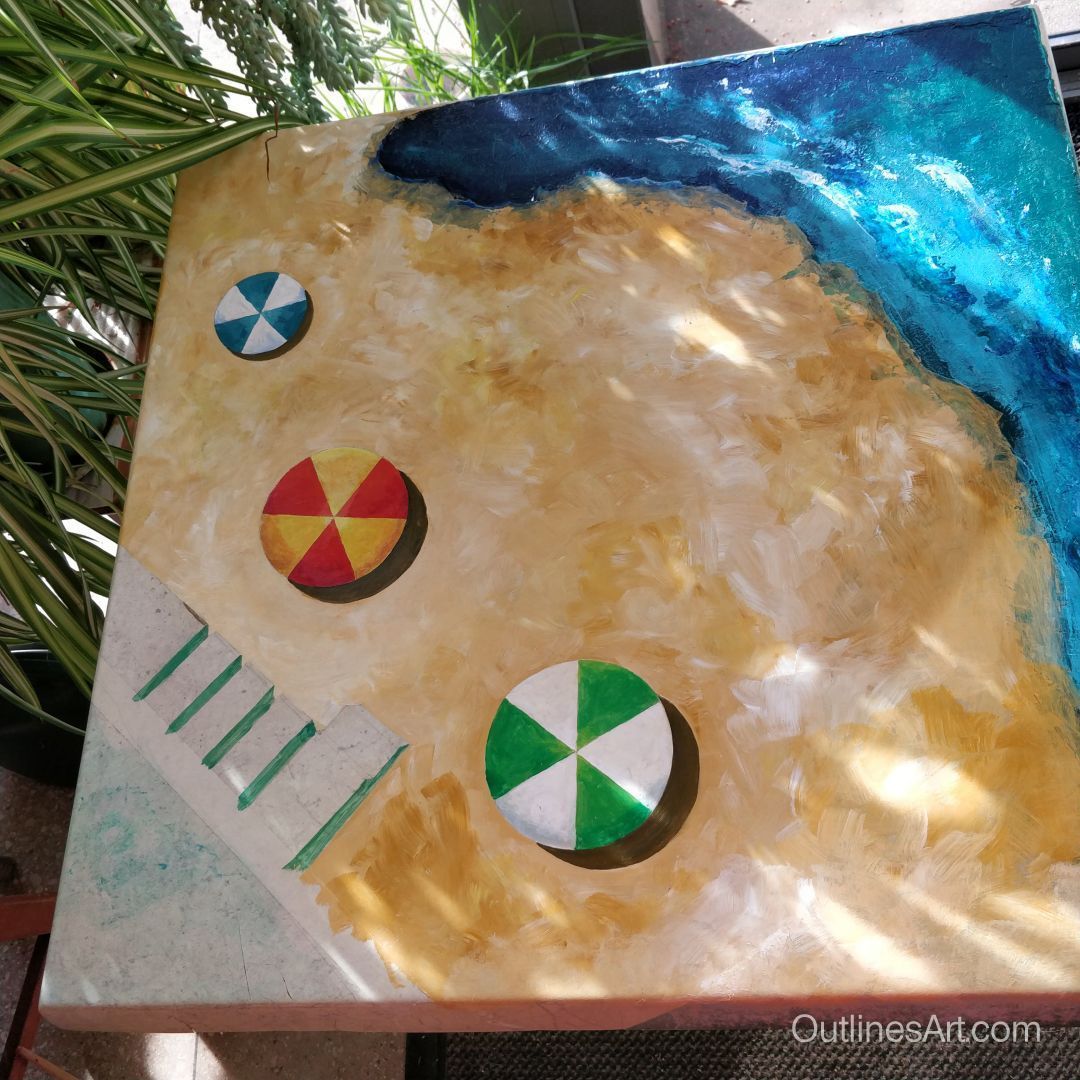
I wasn’t sure whether this would be boards or a solid surface when I started on this area! I thought I would add a bit of variation as an undercoat that could be used either way.
I took some ultramarine and spread it thinly with the palette knife leaving gaps. Working quickly I did the same with some raw umber, allowing the blue to show through randomly. The paint was thin and appeared light in some areas that showed the surface below. It was drying even as I painted as it was so thinly applied.
I decided it would be boards.
Using the same colours as were used on the steps I took a little of each and lightly mixed them so that it was streaky.
Using the side of the knife I picked up some of the mix and applied it sideways, across the ‘boards’ following the line of the step fronts and working along the masked edge.
The rhythm of these movements made the ‘boards’ reasonably even. I then carried the line down on each to the edge of the table.
The secret here is to go with the result and leave well alone. Having said that, if it all goes horribly wonky you can always spread it about and do another base coat before having another go.
I removed the masking tape and had a break to allow this to dry.
Tip: Always – Wash out any brushes and clean the knives before taking a break.
The Promenade Rail
I wanted a highlight line of white along the middle of this line. This would be the rail, perhaps, with an edge for the promenade below each side of the rail.
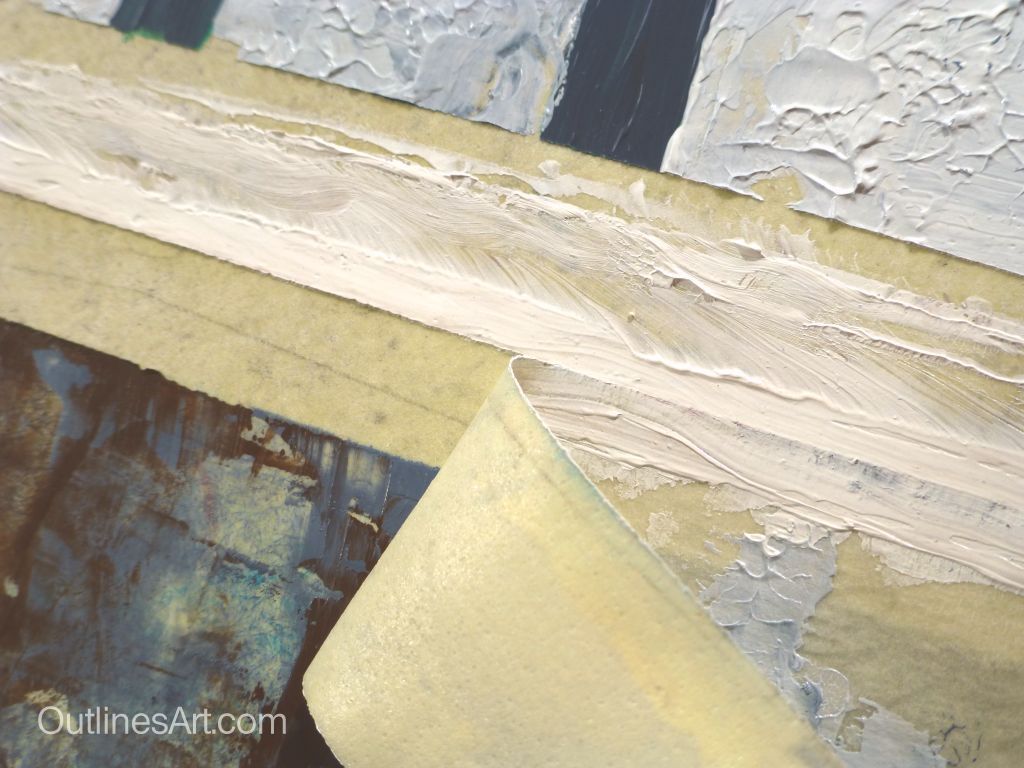
I marked the centre and placed masking tape each side just a few millimetres apart. This allowed me to paint a thick line of white which would have a raised edge against which I could paint the remainder of the line freehand.
I took the masking tape off immediately – it worked!
More dabs of my board colours and a little more blending with a touch of the brush completed the line.
The painting was complete – but I later added some little circles using a pen top dipped in paint to indicate posts. I needn’t have done, and maybe I should have left it plain. but it’s another trick you can use.
This a list of things I used.
Outlines acrylic paint.
Colours:
Sea and Sand – Ultramarine, Viridian green, Yellow Ochre, Lemon yellow, Titanium White.
Sunshades – White and
1. Cerulean blue and Lemon yellow mixed
2. Crimson red and Vermillion
3. Lemon Yellow and Vermillion
4. Ultramarine and Viridian mixed.
Shadows were Ultramarine and Yellow Ochre.
Boardwalk and steps
Titanium White and Ultramarine, Viridian green, Raw Umber, Yellow Ochre
To paint:
1 inch hog hair brush – I had 2 two handy.
Round size 8
Small palette knife.
Drawing and aids:
HB pencil
Masking tape
For masking, 1 inch tape
To Draw around – two rolls with different amount used up.
A strip of card – in case I needed a guide to line things up, it can help with proportions or to make comparisons.
Palette:
I used a discarded food carton from my recycling box as I only needed a palette for the detail, and it was handy at the time.
Back to ‘How to paint the table’
Concluding Thoughts
Painting something that has to live outdoors means there are a few things to consider:
You will need to be sure the entire surface is covered with a good layer of paint. This is so that water cannot seep under the paint and lift it or loosen it.
You may need to add an extra protective coat if the paint is diluted or thinly applied.
The solid area of melamine that was left on my table was already waterproof, and I made sure the broken edges were well sealed. This meant it did not immediately need a coat of protective acrylic varnish, although I am still considering applying some because I did not ensure every inch was thickly coated in paint.
You will not be able to leave ‘bare bits’ as such, so if you want to paint in a style that requires a background colour, consider applying an even and solid coat of that colour before you start.
If you want to leave areas of WOOD showing you can seal it later with oil, which may need replenishing from time to time.
If you think ahead, you may be able to paint different colours for the various areas of your design.
Such planning can help with composition.
Back to top
If you enjoyed this post, you might like to be notified of new ones. Sign up now for more tips, delivered straight to your inbox.
* Newsletters may include information about new products & the latest promotions.

