A Tutorial About Colour Types and Mixing
 We discuss how Making your own colour wheel helps you Understand Colour and become more comfortable when mixing colours.
Beginners: Careful instructions, for those who want to try everything. Useful Reading, for the ones that want to jump ahead without implementing.
Intermediate: You Jumped ahead some time ago? Your practiced hand will find it easier to actually make your own colour wheel, and it’s suprising what you can learn from your own experiments. Don’t put it off
Discover why making a colour wheel is helpful and how to make your own.
Contents:
Colours for this wheel
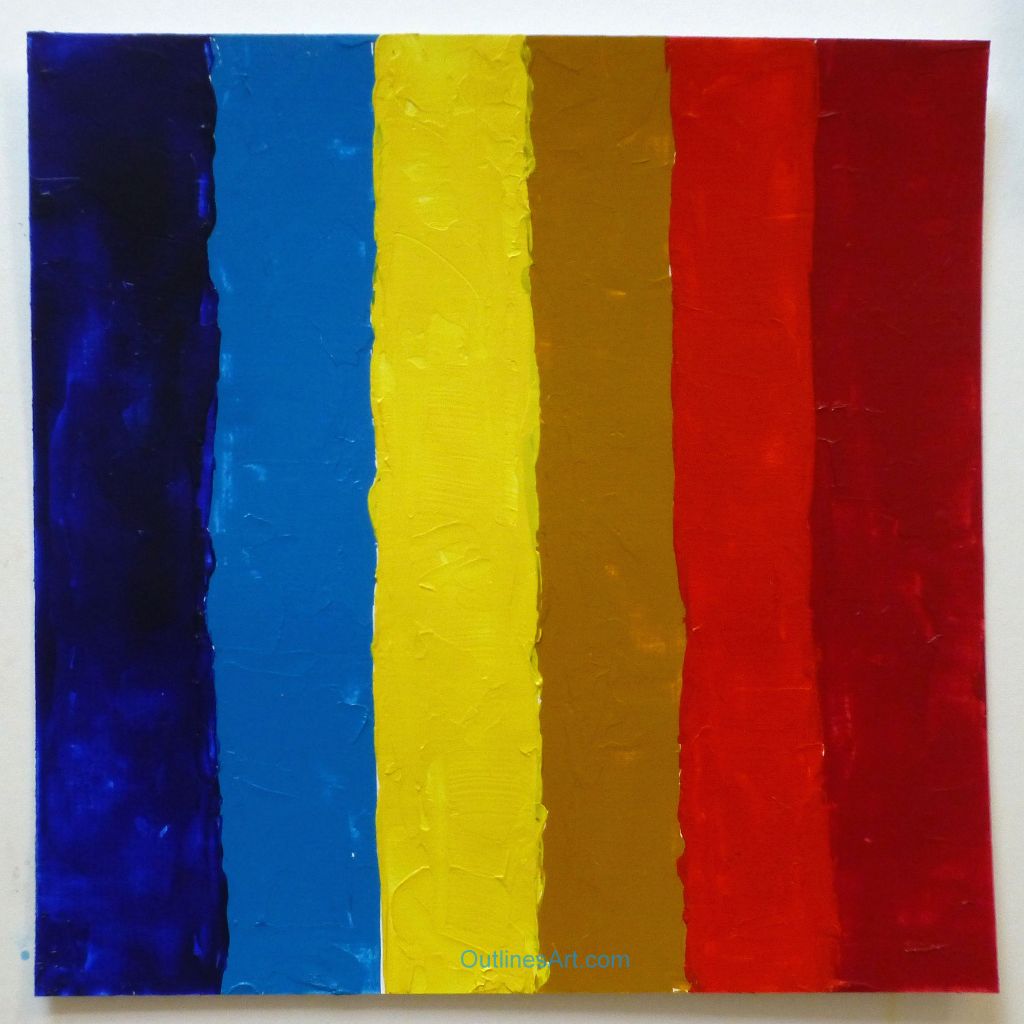
We will use six colours, one warm and one cool each of these three primary colors:
blue – red – yellow.
When visualising the primary colours, most people will think of a single mid-tone version, but if we use them to mix colours, they will produce muddy colours because they have a small amount of all three in them so we will use a pallet of six colours to make our wheel.
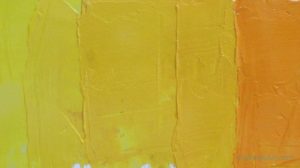
Pic: Six colours for the colour Wheel – Painted Stripes of colour straight from the Tube.
Description of warm and cool colours
Warm colours are those that tend towards red
Cool colours are those that tend towards blue.
But you can have warm and cool Reds and blues! It’s usually quite easy to see a ‘leaning’ or ‘tendancy’ in reds and blues, but what about yellow? Well it might not seem like it, but the same applies really.
A cool yellow may tend towards blue, so might have a greenish tinge and a warm yellow will tend towards red giving it an organgy tone.
Greens can be confusing because a lot of people think of green as cool in general, but you will notice the difference with practice.
Painting a simple colour wheel will soon illustrate this for you.
For transparent mediums like ink or watercolour, the white of the paper provides the light colours.
White is used to make lighter colours in oils and acrylics.
A pallette of six pure colours is sufficient to mix all the colours you need, which is not to say you can’t have more, but it does show you that you can survive with only these.
The essential six colours are one warm and one cool each of the three primary colors, red blue and yellow.
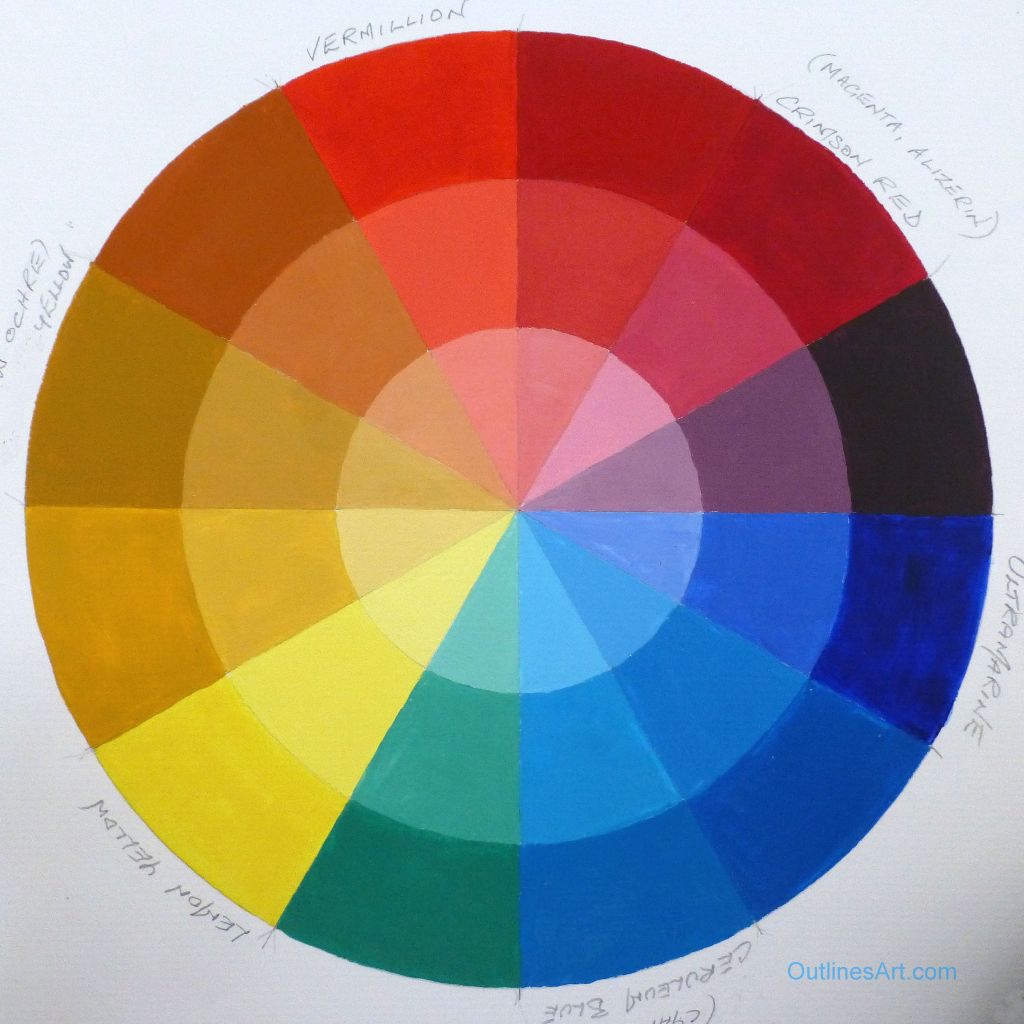
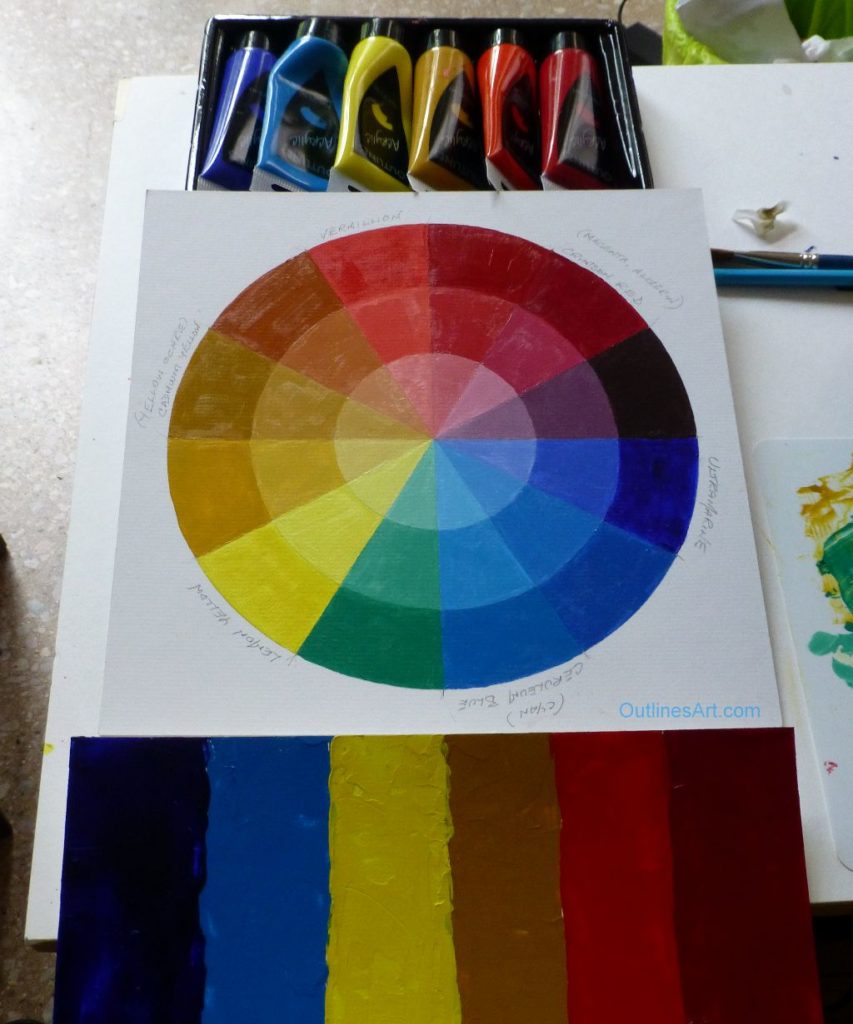
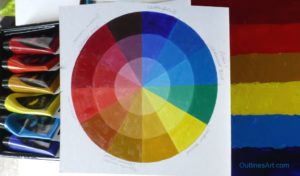
I made this wheel mixing the colours with white added towards the centre.
Pic. Painted circle showing shades of pure and blended colours
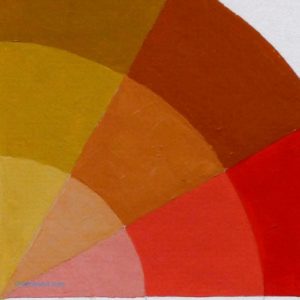
Here are some close-ups of the sections
Yellow section showing nine mixes.
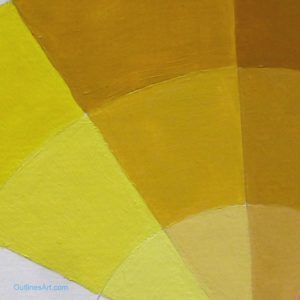 Red section showing nine mixes.
To get the brightest clear results you would choose pure synthetic pigments such as magenta, cyan and lemon yellow but you can choose colours from your chosen meduim.
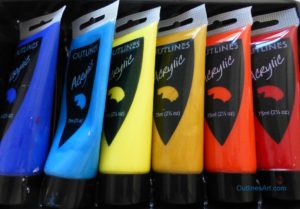
Our example is made using Outlines Acrylics and the colours are from the set.
Ultramarine (warm) and Ceruleum (cool)
Lemon Yellow (cool) and Yellow Ochre (warm)
Vermillion (warm) and Crimson red (cool)
Pic. A tray of my Outlines colours chosen for the wheel, from the set of 12.
Aside: You might wonder why a cadmuim yellow is not included in the set. Well it was a dilemma, because I wanted to include the most useful earth colours, raw umber, burnt sienna and yellow ochre, as well as black and white, and by choosing to have two greens, the set of 12 was complete. I was not too bothered because, much as I like cadmuim colours, the very name flags up alarm bells as the genuine ones are poisenous and I wanted everyone to have confidence in the non-toxic properties of our paint.
Also, you can mix a clean warm yellow using Lemon Yellow (cool) with the tiniest touch of Vermillion (warm).
Carry Less
Because a warm yellow is easy to mix, my Personal six absolute essentials list does not include a warm yellow and I take a tube of white instead! I take more if I’m able, but I can work with those when I have to.
If you travel a lot or like to paint outdoors, the amount you can easily carry might determine the colours you take with you. If you find you can only carry a small set around with you it’s good to know what to choose and if you are strapped for cash this should have helped you choose your first few colours.
You can always add more when circumstances allow.
Understand Colour
If you try painting with with only six colours you will come to understand colour mixing in depth, and you will discover how to choose the extra colours that most suit your painting style or subject matter.
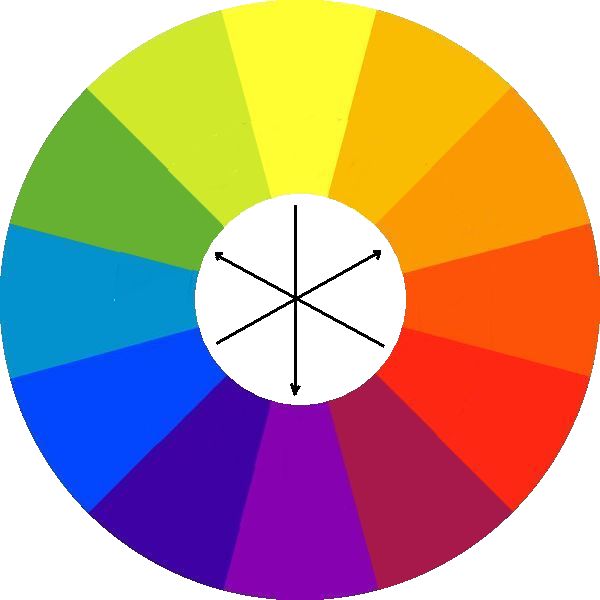
Colours that are opposite each other on the colour wheel are considered to be complementary colors. Here’s a diagram to show you, with arrows pointing from the primary colours to their complemetaries.
Pic.Diagram showing complemetary colours
Mixing complementary colours in varying proportions produces less clear colours, some might say ‘dull’ but I prefer to say ‘sophisticated’!
A simple colour wheel will make the opposite colours obvious.
Once you have made it, you might want to make a more complex wheel or chart using other colours. There are endless posibilities for colour charts that can show you how colours behave, for instance watercolourists like to see how transparent colours affect one another when they do layers.
(Pic. I believe I might have a photo of that. I’ll look for it and put it here if I do)
Acrylic and oil users make charts for the same reason, substituting white with gels that help to make transparent colours.
A set of complex mixing excercises will be a constant reminder of how your colours can mix for more colours.
How To Make Your Colour Wheel
I planned this wheel to be simple, and in a way it is – but I must admit, I haven’t made one for years so I had forgotten how long-winded it is if you try to do it all at once!
I made one especially for this tutorial so that I could describe it properly but I recommend a slightly different approach if you think following the instructions to be too much bother.
I still think it a good idea to do the mixes because it really does help to undertand colour, but I know that there are several things that will make you put it off. They did me!
I’ll write about other ways of doing this in a separate article.
Drawing the wheel
The wheel has 12 triangular sections in a circle with areas for mixing with white. Six sections are for the pure colours and their lighter mixes, and six are for mixes between two adjacent colours.
I made mine on a piece of card 28cm square, but you can draw one on a larger piece of paper if you wish.
The measurements I give relate to this size so adjust to suit yours.
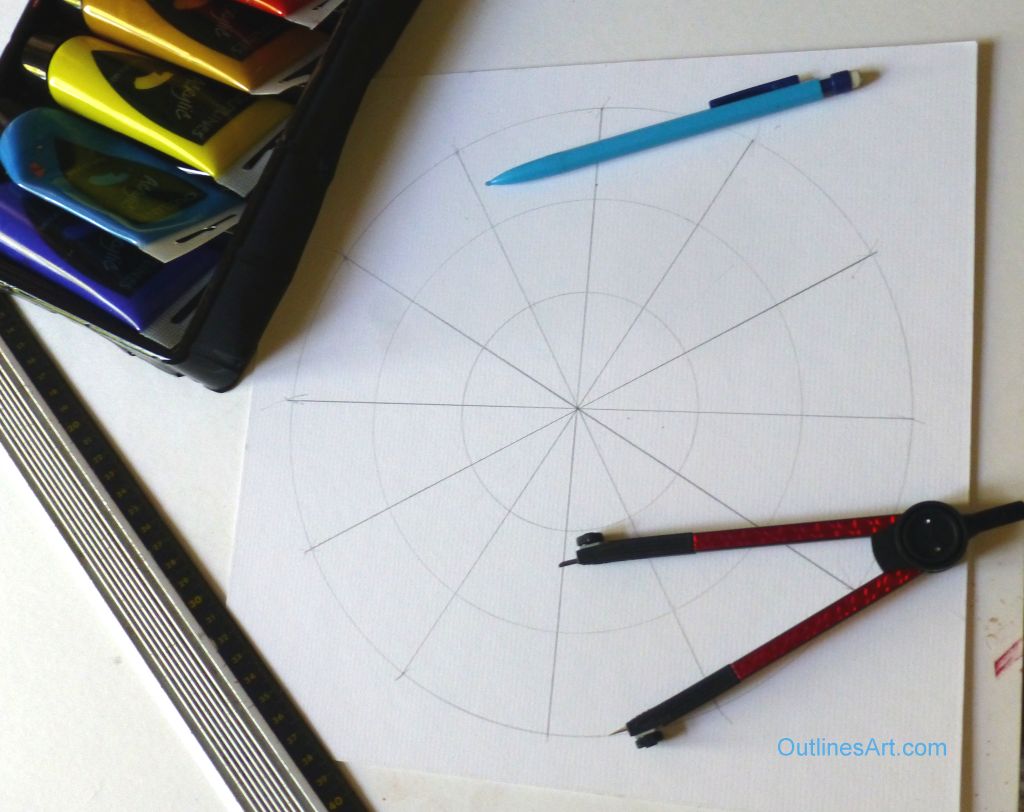
Pic. Gather materials to make a simple colour-wheel, be prepared
Useful equipment to have ready:
A pair of compasses
A straight Ruler
A sharpened pencil or propelling pencil
A pencil rubber (erasor) might come in handy…
Just follow these steps to make a circle with 12 sections :
1. Draw a square (28 x 28cm)
2 Find the centre by placing a rule from corner to corner and make a short line near the middle. When you take the second diagonal, the cross it forms gives the centre of the square.
3. Draw a circle with a 12cm radius using the compasses.
4. Draw a centre line through the circle using the centre point to guide you (I found the centre of one side of the square to make it vertical).
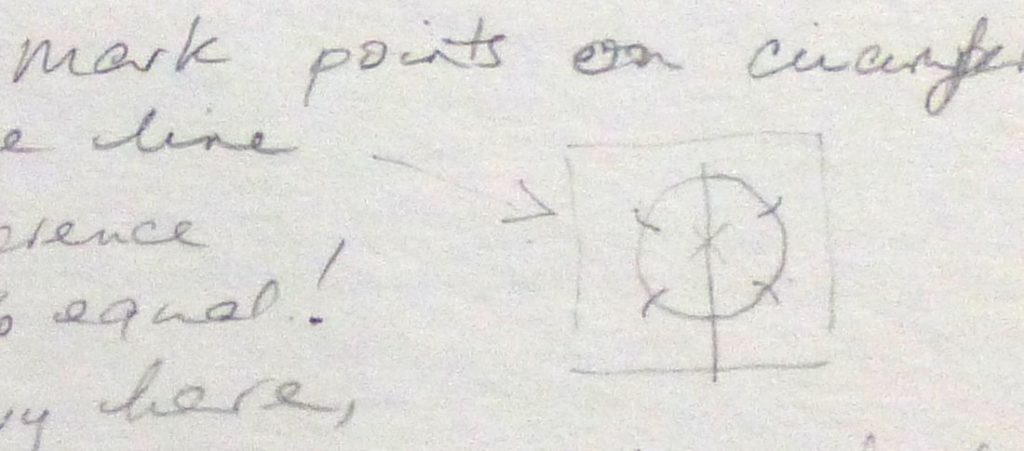
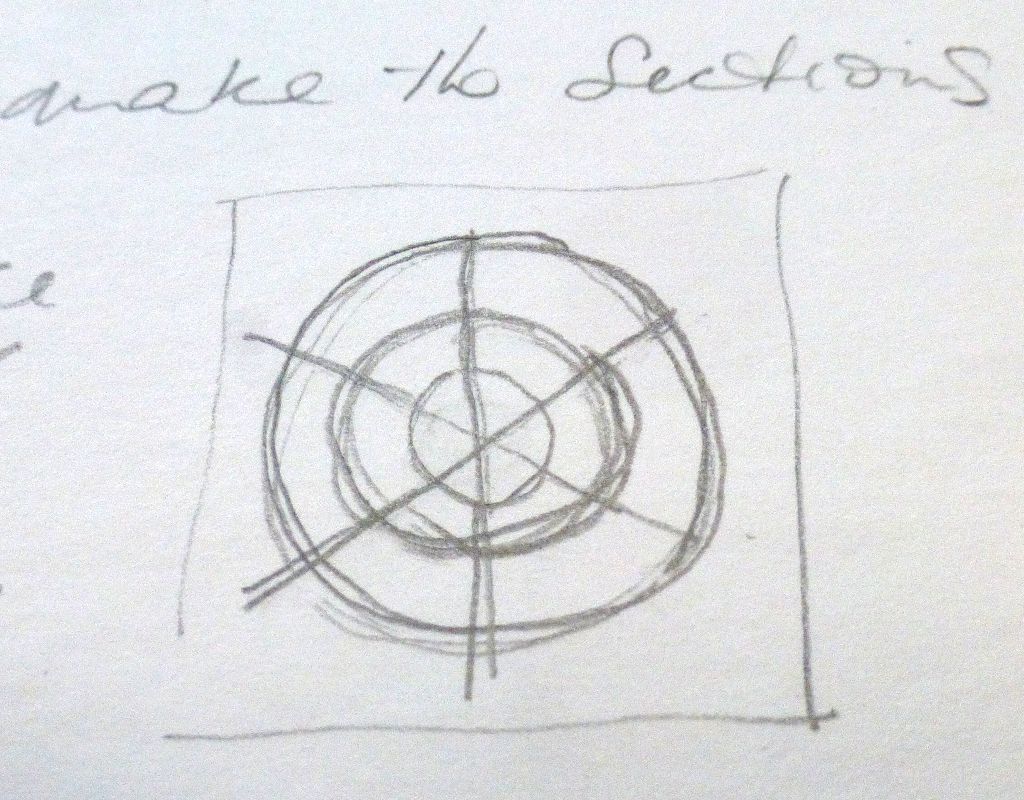
5. Set the compass at 12cm radius. With the point on the vertical line at the top edge of the circle, make a mark on the circumfernce of the circle, both sides and then do the same with the point on the bottom edge
Pic. 10 Freehand sketch of dividing points
NOTE: The radius is approximately one sixth of the circumference of a circle, so the sections will not be 100% identical! We’re not doing maths or geometry here, were only making use of this fact to draw a colour wheel. It’ll look close enough – you can even draw it freehand if you like!
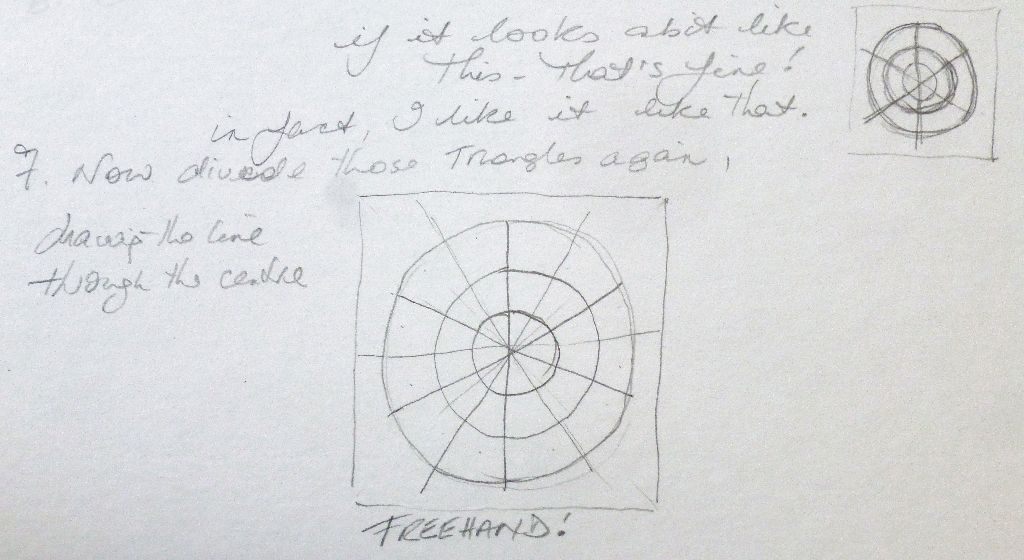
6. Draw two inner circles to make the lighter sections, cutting the triangles into approx thirds.
Pic. 11 Freehand Sketch Sections
7. Now divide those triangles again, drawing a line through the centre.
Pic 12 This one is just drawn by eye – you could draw around a plate for the circle. Whether you make a really neat wheel or a roughly shaped one, it will serve the purpose very well.!
Painting the main six colours.
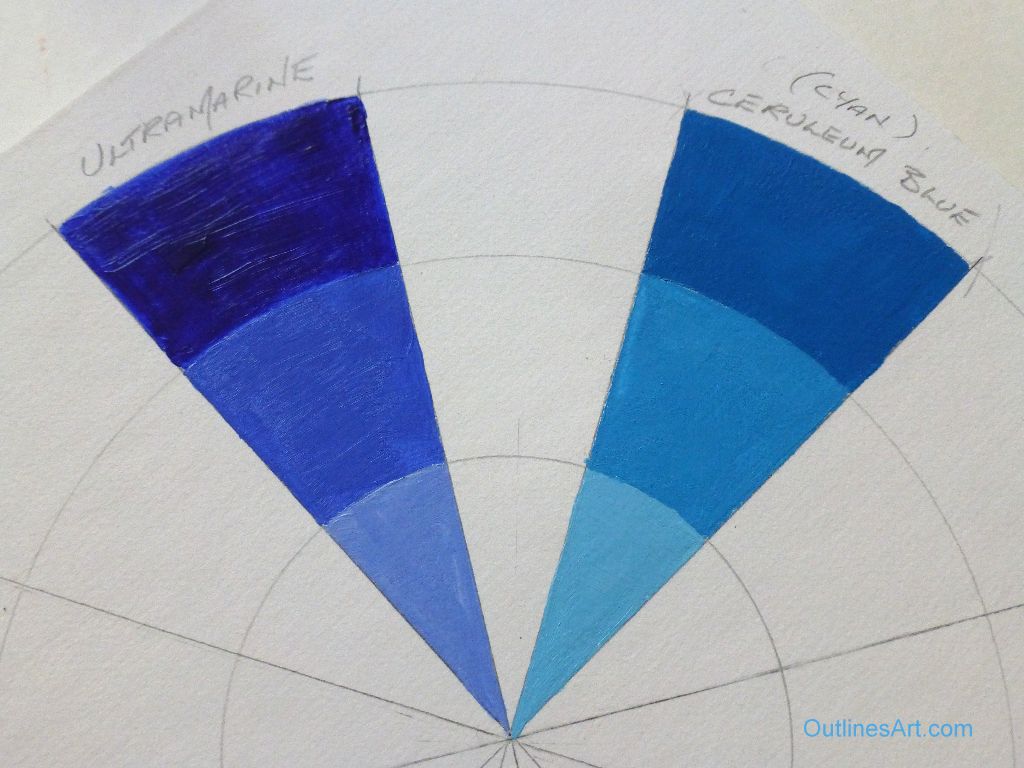
I like to start with the colours straight from the tube leaving a blank ‘traingle section’ between each colour. By the time you have made the lighter shade and the very light shade of each one, you will have a feel for mixing them.
Pic. 13 Painted Blue sections of the colour wheel
By leaving them to dry, it will be easier to handle when you come to mix the colours and make their shades.
Painting the mixed colours.
You can do the mixes in any order you like. Each time you will mix two colours to make a third and then add white to that mix for the shades.
I find it’s best to make enough pure colour to last through the white mixes, otherwise it will be difficult to mix it exactly the same again. The point is to see what a mix produces when it has white added.
Note. If you are doing this with watercolour, you would simply add water to make lighter shades.
Only mix one pair of colors at a time and clean your brushes and/or pallette knife thoroughly each time to avoid contaminating the next pair of colours, and to avoid paint getting stuck in the bristles!
Mix the similar colours first.
Let’s start with the Blues
Ultramarine (warm) and Ceruleum (cool)
Always add dark to light a bit at a time because the dark colours will change things much more dramatically. Add a bit of Ultramarine to the Ceruleum, and mix it well before adding more. keep adding more until the blue is about mid-way between the warm and cool, having lost both its reddish and greensh tinges. You will discover you have a blue resembling cobalt blue.
Paint the outer part of the triangle between the two blues then add some white to make a middle shade, and paint the next section of the triangle.
Squeeze some white on the pallet and add just a little of your mix to make the lightest shade, you won’t need as much because this is a smaller area. If you go over the edge of the dry colours, you can wipe off the excess paint, if you’re quick about it!
Lemon Yellow (cool) and Yellow Ochre (warm)
By mixing these two you can achieve warm soft yellows for a less acid feel when you are painting summer scenes and people. Again, aim for something beween the two yellows.
The process will demonstrate the range of yellows you can make with this mix.
Again, follow the procedure for adding the white.
You will see you can make some lovely soft creamy colours.
Vermillion (warm) and Crimson red (cool)
You know what to do now! You are aiming for a good strong red, neither orangy nor pinky. Go for it, then add your white as before.
Have a rest, a cup of tea or something, to give the paint a chance to dry. You could leave the last bit to do another day as well.
Pic. All the colours in the wheel – made using Outlines Acrylics
Make the complementary colours
This is where you mix two very diffent colors to make a third.
First we will make Orange
Vermillion (warm) and Yellow Ochre (warm)
This will make a muted orange which is fine. Keep adding vermillion to yellow ochre until you judge it is somewhere between the two. The more vermillion you add, the brighter it will become, but it may then go too far and tend towards a muted pink.
For reference, when you want an orange colour thats very bright remember this:
Vermillion mixed with a warm yellow such as cadmium yellow makes a clear orange but, as I mentioned, you can mix Vermillion with Lemon yellow to make warm bright yellows through to intense orange tones,
so when you are painting your art, you have a choice – Oh dear!
Now to make Green
Lemon Yellow (cool) and Ceruleum Blue (cool)
This will make a range of bright clear Greens and you will be amazed at the range of colours from acid yellowy greens to cool watery greens with a hint of blue.
You can play with those endlessly, but for now, we are looking for the one in the middle, neither too blue nor too yellow. When you add the white they will remain clear and crisp.
This combination works superbly when you want fresh minty greens.
Purple is the target colour this time
Ultramarine (warm) and Crimson red (cool)
These two will make Purple colours ranging from deep purple to Mauve and dark wine.
The pure colours mixed are extremely dark and the subtle difference will be hard to discern until you add white or water it down.
Add small amounts of blue to the red, gradually increasing the amount to achieve that middling colour.
Using another brush, take a tiny amount of your mix and add a touch of white to help you judge the result.
Once you have decided, go ahead and paint the outer pure colour, then move on to the white mixes quickly, before it dries out.
For an extremely intense almost glowing purple read about the reds to make those here.
Here’s a little tip – if you need a break, put a square cut from a plastic or polythene bag over the wet paint and push it down at the edges to exclude the air. That will give some breathing space!
Final Words
Phew! that was rather more of an epic than I intended!
This wheel is simple in concept but quite a lot of painting and cleaning up, however, if you make one, you Will learn a lot about your colours!
As I said, I have already written another article to tell you other ways to approach exploring the colours in your paintbox.
Want to go over something again?
Back to contents
Have you made any colour charts or wheels and did you find it helpful? Let us know in the comments below.

